A flat tire is one of the most common car troubles, but it doesn’t have to ruin your day. With a few essential tools and a little know-how, you can tackle the repair yourself, saving time and money. Whether you’re stuck on the side of the road or just trying to be prepared for the unexpected, understanding how to perform flat tire repair can be a valuable skill. In this tire changing guide, we’ll walk you through the process step by step, so you can fix your flat tire like a pro.
 What You’ll Need for a Flat Tire Repair
Before you start the repair process, make sure you have the right tools and equipment. Here’s what you’ll need:
- A spare tire (or a tire repair kit if you plan on patching up the tire)
- A car jack
- A lug wrench
- A tire iron (if you don’t have a lug wrench)
- A flashlight (if you’re working in low light conditions)
- A wrench or socket set
- A tire pressure gauge
- Optional: Tire repair kit (for small punctures)
Ensure your spare tire is properly inflated and that you know where all your tools are before you get started.
Step 1: Find a Safe Location
If you’ve noticed your tire is flat while driving, it’s crucial to find a safe spot to stop. Look for a flat, stable area away from traffic, such as a parking lot, wide shoulder, or driveway. Turn on your hazard lights to alert other drivers that you’re stopped and make sure the car is in “Park” with the handbrake engaged.
If you’re in an unsafe area (e.g., on a busy road or highway), it’s best to call for professional help instead of attempting a flat tire repair yourself.
Step 2: Loosen the Lug Nuts
Before you jack up the car, you’ll need to loosen the lug nuts that hold the flat tire in place. This is where your lug wrench comes in handy. Using your lug wrench or tire iron, turn the lug nuts counterclockwise to loosen them. It’s important to do this while the car is still on the ground so the tire doesn’t spin.
Note: Do not remove the lug nuts entirely at this stage—just loosen them a little. This prevents the tire from moving when you begin lifting the car.
Step 3: Lift the Car with the Jack
Now it’s time to jack up the car. First, locate the jacking point, which is typically a reinforced area on the vehicle’s frame. Your owner’s manual can help you find this if you’re unsure. Place the jack under this point and begin cranking it until the flat tire is off the ground, leaving enough space for the tire to come free.
Tip: Make sure the car is on a stable, flat surface when lifting, and never place your body under the car while it’s jacked up. Always use caution when working with a jack to avoid accidents.
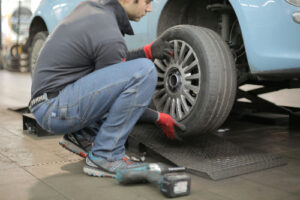
Step 4: Remove the Lug Nuts and Flat Tire
Once the car is securely lifted, finish removing the loosened lug nuts and set them aside. Take the flat tire off the wheel hub and place it flat on the ground next to the car. If you’re using a temporary spare (such as a “donut” tire), make sure it’s properly inflated and ready to be mounted. If your spare tire is a full-size tire, now is the time to install it.
Step 5: Install the Spare Tire
Place the spare tire onto the wheel hub, aligning the holes with the bolts. Once the tire is in place, hand-tighten the lug nuts back onto the bolts to hold the spare in place. Do not fully tighten them just yet—this will be done after lowering the car back to the ground.
Tip: If you’re using a temporary spare, remember that it’s designed for short-term use, and you should replace it with a full-size tire as soon as possible.
Step 6: Lower the Car and Tighten the Lug Nuts
Now that the spare tire is in place, slowly lower the car by turning the jack handle in the opposite direction. Once the car is back on solid ground, fully tighten the lug nuts using your lug wrench. It’s important to tighten them in a criss-cross pattern to ensure an even fit. This means tightening one lug nut, then moving across to the opposite side of the tire, and so on.
Make sure the lug nuts are securely fastened, but avoid over-tightening, as this can damage the wheel or the tire. Once they’re tight, double-check to ensure everything is properly fastened.
 Step 7: Check the Tire Pressure
Before you hit the road, use your tire pressure gauge to check the pressure of the spare tire. If it’s too low, inflate it to the recommended pressure, which is usually listed on the side of the tire or in your car’s manual.
Driving on a spare tire with low air pressure can cause further damage and create unsafe driving conditions.
Step 8: Stow Your Tools and Flat Tire
Once your spare tire is properly installed and the car is safely lowered, store the tools, jack, and flat tire in your trunk. If your tire is repairable, it’s a good idea to take it to a professional for patching or refitting. Otherwise, you’ll need to replace the flat tire.
When to Call a Professional
While a flat tire repair is something many drivers can handle themselves, there are times when calling a professional is the safer option. If you’re not comfortable jacking up the car, don’t have the right tools, or feel unsafe in your current location, it’s best to seek professional help. Additionally, if you discover that the tire has significant damage or the puncture is too large to fix with a simple patch, visiting a mechanic or tire specialist is necessary.
If you don’t have a spare tire or a repair kit, or if the flat occurs in an inconvenient place like a busy highway, calling a roadside assistance service is the best choice.
Conclusion
Learning how to change a flat tire is an essential skill for every car owner. By following this tire changing guide, you can safely and effectively replace a flat tire and get back on the road. Remember, it’s important to stay calm and be prepared with the right tools and knowledge. In some situations, calling a professional for a flat tire repair may be necessary. Stay safe, and keep your spare tire properly inflated and ready for use at all times!
 1. Low Coolant Levels
 3. Radiator Problems
 What Does the Check Engine Light Mean?
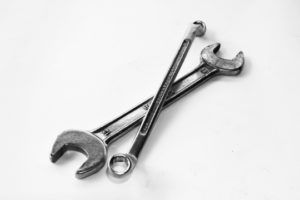 Why Addressing The Check Engine Light is Important
 1. Perform Preventive Maintenance
 3. Look for Discounts and Coupons
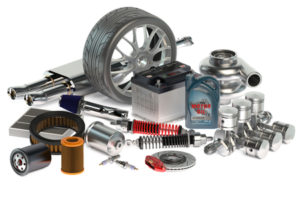 5. Consider Aftermarket Parts
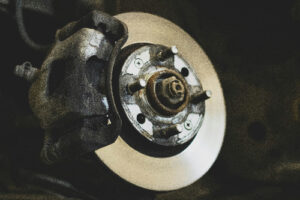 Why Brake Maintenance Is Crucial
 When to Replace Your Brake Pads
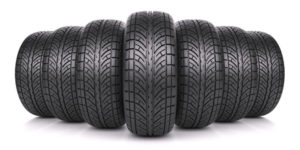 Understanding the Types of Tires
 How to Choose the Best Tires for Your Car
 Types of Motor Oil
 The Consequences of Neglect
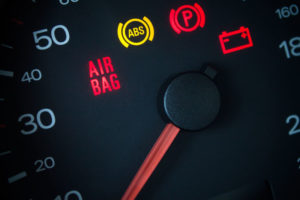 Step 1: Check for Power
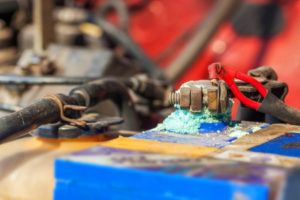 Step 2: Check the Battery
 Step 4: Check the Starter Motor and Ignition System
 1. Unusual Noises When Driving
 5. Loss of Power or Acceleration
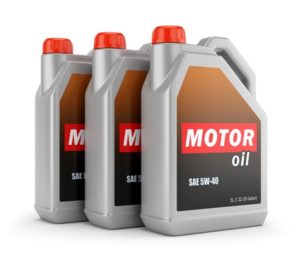 1. Change Your Engine Oil Regularly
 3. Monitor Tire Health and Pressure
 9. Regularly Wash and Wax Your Car